As we all know, Microsoft’s latest operating system is Windows 10, and with a new version of windows new settings have arrived. We have received so many messages regarding how to create Wi-Fi hotspot in windows 10, here’s how to turn your windows 10 pc into a wi-fi hostpot.
Though there are many portable Wi-Fi hotspots are available over the internet, and Microsoft have added so many useful features in Windows 10, but still it doesn’t contain any feature that can turn it into a Wireless Wi-Fi hotspot. Now a days everyone owns a smartphone and uses internet in it.
Having a data connection in mobile is good, but can be expensive at the same time. So it is always recommended to make a Wi-Fi hotspot from PC, and use it’s internet in your mobile.
If you are using a desktop PC, then you can buy a router that can provide internet access to your pc as well as to your mobile phones too, but if you are using a laptop and internet via dongle, then its high time to learn how to turn your PC into a Wi-Fi Hotspot because that you can help you in sharing your internet connection with other devices.
Here in this post we are going to tell you about how to “Turn Windows 10 PC into a Wi-Fi Hotspot without Using Software” and how to “Turn Windows 10 PC into a Wi-Fi Hotspot Using Software”.
Make Wi-Fi Hotspot in Windows 10 Using Software
Connectify
Connectify is one of the most popular and useful windows software to create Wi-Fi hotspot easily. It is a paid tool, but still you can download the free version from the official site which offers a less number of features then the paid one. So, let’s get started.
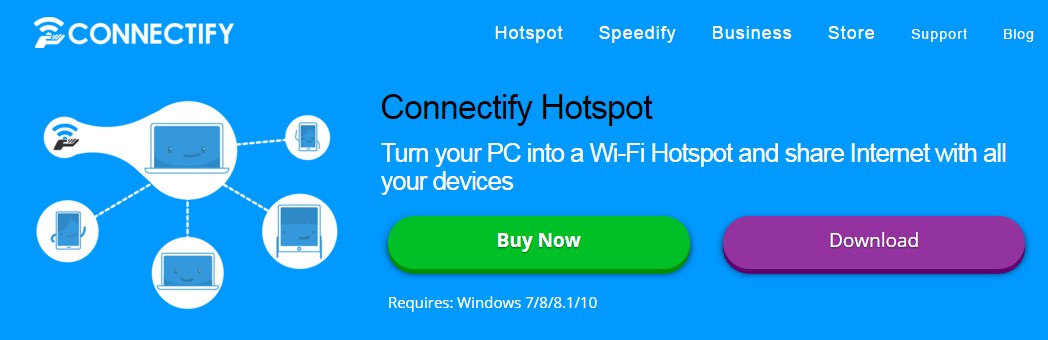
- First of all you have to download and install the latest version of Connectify Hotspot on you windows 10 system. Once installed, open it.
- Give your Hotspot a Name (up to 32 characters). Your Hotspot Name or SSID is the network name that other devices will see and connect to.
- Protect your Connectify Hotspot by giving it a unique password. Your Hotspot is kept safe-and-secure by the same WPA2 WiFi security standard used by most home routers
- Make sure that the ‘Internet to Share’ dropdown is set to the particular wireless or wired connection that you want to broadcast using Connectify Hotspot
- Now in the end, just click on ‘Start Hotspot’ to begin sharing your Internet connection with other devices. Now, you and other people can connect to your Connectify Hotspot just as they would with any other Wi-Fi Hotspot.
mHotspot
There is nothing much advanced with mHotspot. You can easily create a Wi-Fi hotspot using this tool. The most amazing thing about this tool is that it is available for Windows and Android, so if you want then you can share you Android’s data too. You can connect up to 10 devices by using this tool, so if you are making a hotspot for home, then this tool is just perfect for you.
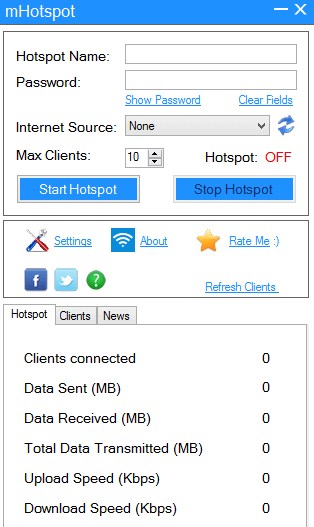
- Download and install the latest version of mHotspot.
- Enter any name of your choice as hotspot name
- Choose a password of minimum 8 chars.
- Select your active internet connection from the drop-down list of connections.
- Set the maximum number of clients that can be connected to the hotspot.
- Click start hotspot to start your own personal Wi-Fi hotspot.
Make Wi-Fi Hotspot in Windows 10 withoutUsing Software
- First of all right click on Taskbar and click on Command Prompt (Admin) option. Do note that you have to open CMD as Administrator, so make sure you are clicking on (Admin) one. This will open the command prompt in administrator mode.

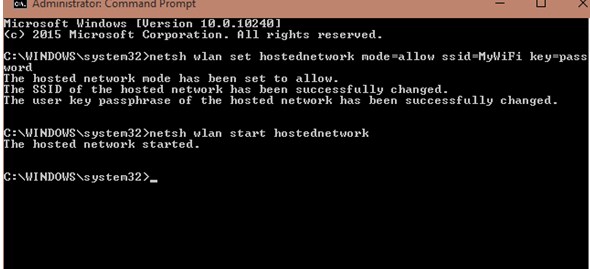
- Now you have to write the following command in it to set your Wi-Fi hotspot.
netshwlan set hostednetwork mode=allow ssid=MyWiFi key=123456789
Change the values according to your need.
ssid= Your Hotspot Name Here
key= Your Password here
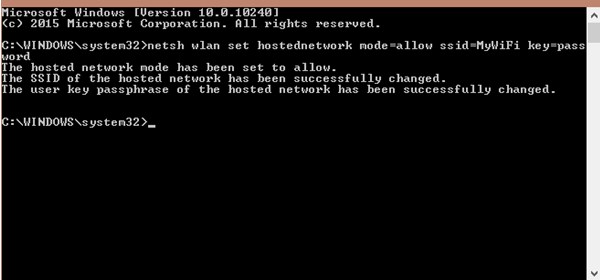
- After writing this command, press enter and you will get 3 lines of success message. If not, then retry one more time, and look for each command carefully.
- Now type the below command to start your hosted network. You can enter this command any time after creating hotspot to start your Wi-Fi network.
netshwlan start hostednetwork
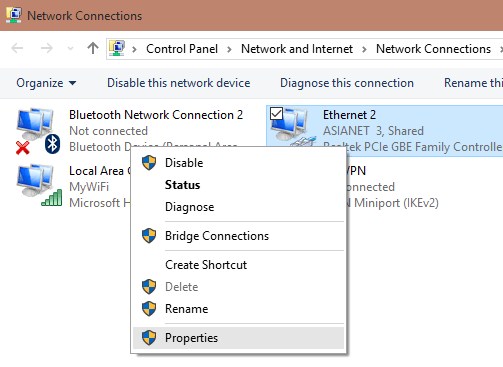
- Once you have enabled the hosted network in Windows 10, you will be able to see MyWiFi connection listed in the network and sharing centre. Now you need to share the existing active Internet connection with the newly created Wi-Fi network to give internet access to it. Right click on your existing internet connection and select properties.
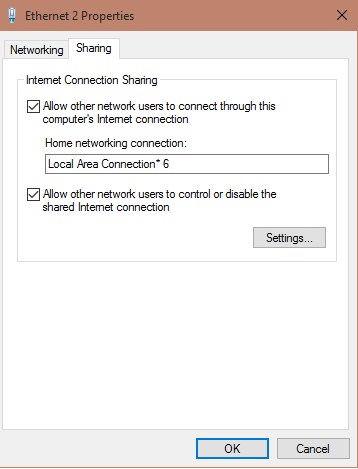
- Now in the sharing tab, check the box against “Allow other network users to connect through this computer’s internet connection”. If you see a drop down list there, then select the newly created Wi-Fi hosted network connection from it and click on Ok button to save your settings.
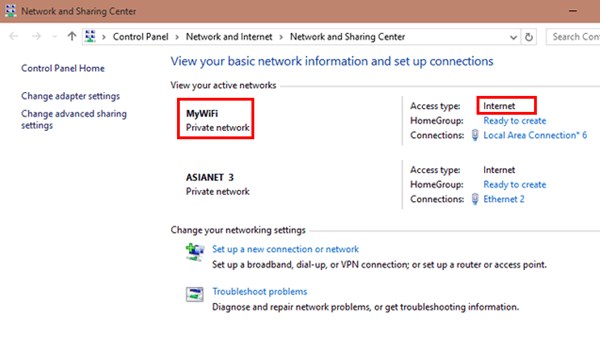
- Now visit the Network and Sharing Centre one more time, and now you will notice that Internet is available for your newly created Wi-Fi hotspot.
- If you want to stop Wi-Fi network, then you can type the below command in CMD.
netshwlan stop hostednetwork
Conclusion
By using above methods, you will be able to turn Windows 10 PC into a Wi-Fi hotspot easily. We have mentioned both ways how to turn Windows 10 PC into a Wi-Fi hotspot using software and how to create Wi-Fi hotspot in Windows 10 without software so that if you don’t have any suitable software then you can do it without software.
Though there are many more ways to turn windows 10 laptop pc into a Wi-Fi hotspot, but still ways mentioned above works well and for almost everyone out there. If you are facing any issues in creating Wi-Fi hotspot in windows 10, then do let us know about it via comments below.